YOU MUST PREPARE YOUR IMAGES PRIOR TO PRINTING
Make sure your images are sized to fit the paper size you intend to print on before you come to the Lab to print. Samples of the available paper sizes and paper types are posted by the clean table.
- Suggested Minimum Resolution: 300dpi
- Suggested Format: psd, tiff, or jpg; flatten layers
- Suggested Colour Profile: sRGB or Adobe RGB
Additional information can be found below under: LARGE FORMAT FILE PREPARATION
MARGINS - SHEETS
Here are the maximum recommended image sizes for standard Epson sheets, if you want the image to be centered on the sheet:
Epson Sheets Maximum Image size (for Epson 9880)
17" x 22" 16.5" x 20.25" (16 1/2" x 20 1/4")
13” X 19” 12.5” X 17.25” (12 1/2" X 17 1/4")
11.7” X 16.5” 11.2” X 14.75” (11 3/16" X 14 3/4")
8.5” X 11” 8” X 9.75” (8" X 9 3/4")
Epson Sheets Maximum Image size (for Epson 3880)
17” X 22” 16.75” X 21.75” (16 3/4” x 21 3/4”)
13” X 19” 12.75” X 18.75” (12 3/4” x 18 3/4”)
11.7” X 16.5” 11.45” X 16.25” (11 7/16” x 16 1/4”)
8.5” X 11” 8.25” X 10.75” (8 1/4” x 10 3/4”)
The Epson 9880 printer provides inconsistent default margins ranging from 3/4" to 1" at top and bottom when printing from ROLLS.
- Students must pay for an additional 1” (average total default margin) when printing from rolls.
- It's recommended that students include the desired margins as part of their final image
EXAMPLE:
- If your image is 18” X 25”, it's recommended that a minimum 1” border should be added on all sides before printing, making the final image size 20” X 27”.
- If printing on a 24” roll, for example, you will pay for 24” x 28” - ie the width of the roll x the length of the image and including the additional 1" default margin.
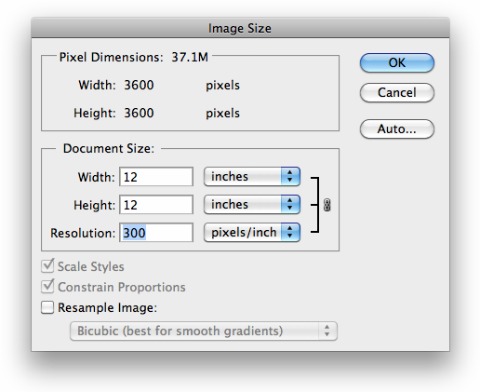
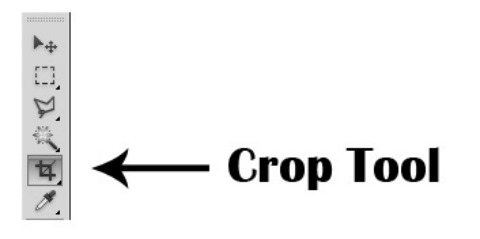
size and set resolution to 300 dpi

click ENTER key.
- Click LAYER – FLATTEN image from toolbar menu
- Click FILE – SAVE from the toolbar menu. Recommend to save as PSD, TIFF OR JPEG file
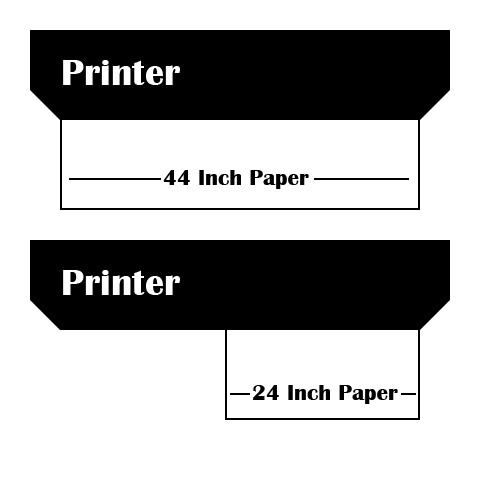
- The print lab has a 44” paper cutter to trim edges accordingly. Make sure to leave enough space between images to create the desired borders
- Either hang work up to dry, or store it flat and covered to avoid dust
SOFT PROOFING
You can soft proof your image through Photoshop. This allows you to see a better representation of what your image will look like when printed on paper. You can choose the Rendering Intent that will provide the best results for approximating colours that are out of gamut. It is suggested that you toggle between Perceptual Rendering Intent and Relative Colorimetric Rendering Intent.
How to soft proof in Photoshop (Adobe CS4)
- Go to Proof Setup & choose Custom
- In Device to Simulate choose profile depending on paper type:
For SHEETS:
·Ultra Premium Luster Photo Paper: Epson7880/9880 PLPP
·Velvet Fine Art Paper: Epson7880/9880 VFAP
·Ultra Premium Presentation Paper Matte: Epson7880/9880 EMP_PK
For ROLLS:
·44” Premium Luster Photo Paper 260: Epson 7880/9880 PLPP260
·24” Velvet Fine Art Paper: Epson 7880/9880 VFAP
- Toggle between Perceptual & Relative Colorimetric
For free Webinars offered by X-Rite on soft proofing and colour calibration go to:
Webinar Archive: Beyond Monitor Calibration - Get Prints That Match Your Display
CARRYING AWAY PRINTS
- Sheets: Bring an acid free flat portfolio to carry away your prints in
- Rolls: Large prints should be rolled with the image out. After rolling, the print can be carried away in a large tube