A Content Editor may need to have certain files attached to a particular page on their website either for their own use or for downloading by site visitors.
Note: Before you upload PDF format documents to your website please read "A note about PDFs" on the Accessibility page.
On the Create Page screen, there is a section labeled File Attachments.
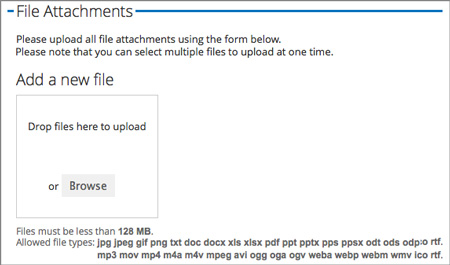
You can drag and drop files from your computer directly to the "Add a new file" box or select "Browse" to search for and upload files. Please note the restrictions in size and file type listed at the bottom of the dialogue window.
If you choose to drop files directly on the "Add a new file" box the files will immediately upload and show in a file information listing.
If you choose "Browse" in the Add a new file section it will open a search window for your computer and allow you to navigate your desktop, hard drive or folders for the files you need.
Select the files and they will upload and appear in a file information listing.
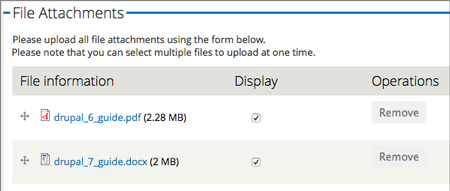
The listing will show the file name, file size, whether the file is displayed to the user or not (default is display to the user, Display button checked) and a Remove button if the attachment is no longer needed.
- Uncheck the Display button if you want to hide the attachment from site visitors (ie. it is for your own internal reference)
- Check the Display button if site visitors will need to see and download the file (ie. a sign-up form or course listing sheet etc.)
Files that are displayed to the user will show up at the end of your page content. The styling of this listing cannot be changed.
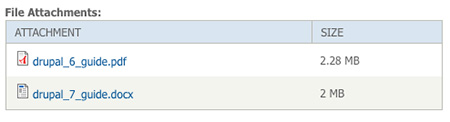
Rather than choosing this rather simple type of listing most Content Editors choose to place links to attachments in the body copy of the page.