When you add an image directly into your body copy it will be re-sized by most browsers to fit in the on-screen area. For images in the the middle content area, alongside body copy, 450 pixels wide is the recommended maximum.
To add an image in your body copy area place the cursor where you would like the image to appear and select the Image icon in the Body field toolbar.

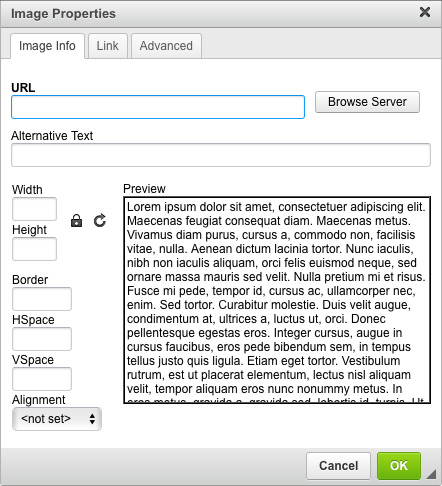
This will open the Image Properties window:
Select "Browse Server" and open the File Browser screen.

In the top left menu, selecting "Upload" will open your computer's Finder window allowing you to search for and pick images from the folders and files on your hard drive. Once you select an image from your computer, it will upload to the system.
Select "Insert file" to place it on the page and return to the Image Properties window.
The Image Properties window will automatically fill in the URL field with the system location of your uploaded file.
The editor needs to specify an Alt Tag (Alternative Text) for the image. This text will be seen if the link to your image is broken and it will be used by those with accessibility issues. This field is mandatory.
The editor can also specify a width and height for the image, a border, the horizontal and vertical spacing and the alignment (left, right and centre). Within Image Properties there is also a "Link" tab. This tab allows you to set a URL turning the image into a link to that address.
Select OK and your image will be placed in your body copy.