By default, Blocks appear on every page of your website. That includes Blocks editors have created and Blocks that are pre-programmed.
Usually, Blocks contain important information that you want to highlight for the user. It makes sense that the information would appear on every web page.
However, sometimes information in a Block is only relevant to certain pages or sections on your website.
You can restrict the visibility of a Block so that it only appears on certain pages.
When you rollover any Block on your website a small gear icon will appear in the top right corner.

Select the gear icon and a contextual menu will appear for that Block.
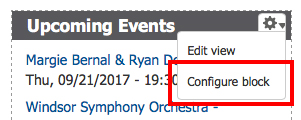
Select Configure Block and you will be taken to the configuration page for that Block.
Scroll down the page to the section labeled "Visibility settings".
You can choose to restrict the visibility of the Block by inclusion or exclusion. Meaning you can have it appear on every page except ones you exclude or have it appear only on pages you specifically include.
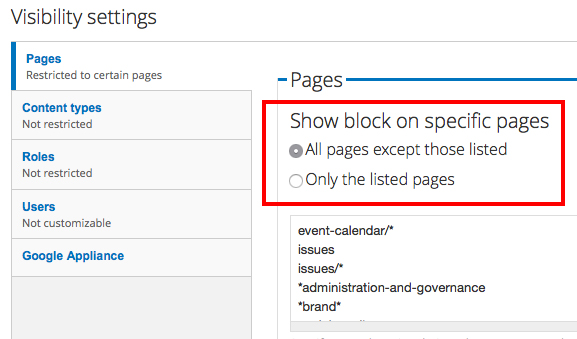
Choose from the two options presented and then list the specific pages in the box below.
List the pages with their relative name or node number. You do not list the entire URL of the page.
Remember to select Save Block at the bottom of the page.
The Block will now appear only where specified.